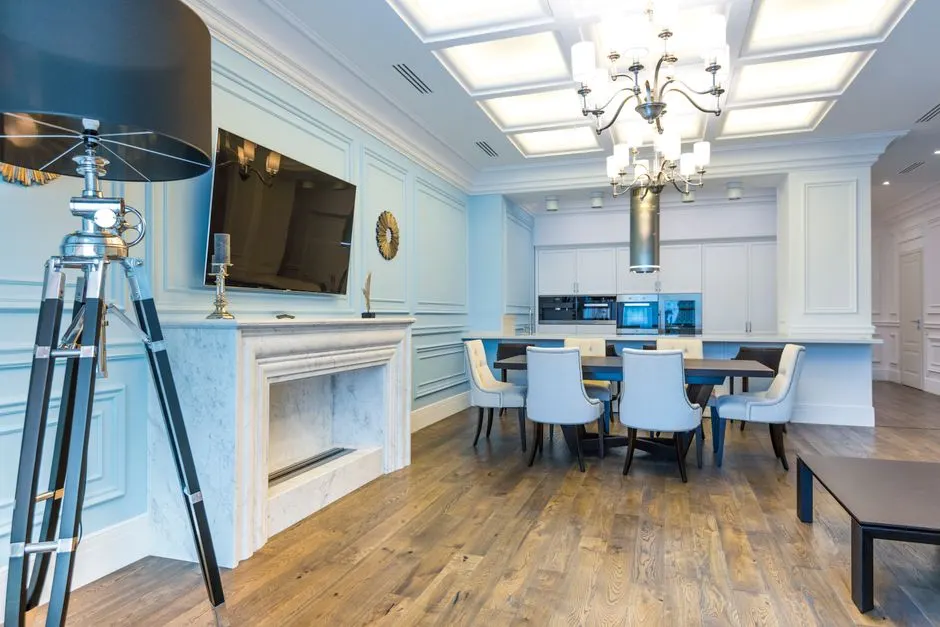
Gas, wood, and insert installs built to NFPA 211 and Massachusetts code
Fireplace installation in Randolph Town, Massachusetts done right the first time
If you want a fireplace installation in Randolph Town, Massachusetts that passes inspection and actually heats the room, we handle the whole job: hearth, liner, venting, and finish. We install gas, wood burning, and electric units plus fireplace insert installation Randolph Town homeowners ask for when they want more heat and less smoke. Most installs take one to two days.
Live phone supportUpfront optionsBacked workmanship
What's included
What our fireplace installation covers
Every install includes the unit, the venting, the permit, and the inspection. Add-on masonry work is quoted separately and only after we see the chimney, so you are never paying for something your flue does not need.
Unit and venting
The appliance itself plus the stainless steel liner or direct-vent pipe sized to it. We use HomeSaver and ChimneySaver liners and DuraVent or Selkirk venting, all listed for the application and installed to the manufacturer's clearances.
Permit and inspection
We pull the Randolph Town permit and meet the inspector on site. You get the signed-off paperwork for your records. No install leaves our hands without passing final inspection.
Hearth and trim finish
Hearth pad, surround, and mantel trim set level and sealed. On masonry builds we lay firebrick on a refractory mortar bed and finish the face with a mortar jointer so the joints are uniform.
Chimney cap and top plate
A listed stainless cap sized to the new liner, with the correct mesh for the fuel type. It keeps rain and animals out and keeps sparks off the roof, which matters more once you are burning regularly.
Debris removal and cleanup
The old unit, the old damper frame, and every scrap of masonry come out with us. We run a HEPA vacuum during demo and a final pass before we leave, so the room is ready to use that night.
Service overview
fireplace installation in Randolph Town, Massachusetts: what the job really involves
A fireplace installation in Randolph Town, Massachusetts is the full assembly of a firebox, venting or chimney liner, hearth, and finish trim into a home that either has no fireplace or has one that can no longer be used. We pull the permit, cut and frame the opening, run a stainless steel liner or direct-vent pipe, set the unit level, and seal every joint so no carbon monoxide or smoke finds a path into the room. On a wood unit we pour a refractory mortar bed and lay firebrick; on gas we pressure-test the line and check the damper interlock.
Randolph Town has a lot of 1920s to 1960s housing stock with original masonry chimneys, and many of those flues were built for coal or oil, not for a modern insert. That is why so many calls start with a chimney leak or a chimney liner damage report and end with a new appliance. If you have been searching fireplace installation near me in Randolph Town Massachusetts, the first step is a camera inspection of the existing flue. We tell you straight whether you need a liner, a crown rebuild, or a full reline before we quote.

How we workWe verify the cause, compare realistic options, and confirm the repair before we leave.
The service timeline
How our installation process runs
The process flexes to the condition, but these checkpoints keep decisions clear.
Inspection and measurement
We run a camera inspection system down the flue and check the smoke chamber, damper, crown, and flashing. Then we measure the firebox, hearth, and mantel depth. This takes about 45 minutes and tells us whether you need a full reline or just a liner for the new appliance.
Written scope and permit
You get a written scope with the unit model, liner size, and total price before we order anything. We pull the Randolph Town permit and schedule the inspection. Nothing gets cut until you have signed off on the number.
Protection and prep
Drop cloths go down from the door to the hearth, and a HEPA vacuum runs during the demo. We remove the old damper frame, grind out failed mortar with a grinder with diamond blade, and check the smoke shelf for cracks before the new unit goes in.
Install and seal
We set the unit, connect the liner or direct-vent pipe, and seal the top plate with a listed chimney cap. Gas lines get pressure-tested. Wood units get a refractory mortar bed and firebrick laid with a mortar jointer. This is the long day, usually six to nine hours.
Test, clean, and walkthrough
We light the first fire or run the gas unit through a full cycle, check draft with a manometer, and confirm no smoke backup. Then we vacuum the room, haul the debris, and walk you through the controls, the warranty, and the first-year maintenance schedule.
Tools & methods
Tools and methods we use
Purpose-built equipment, used by trained technicians, so the job is done accurately the first time.
Camera inspection system
Runs the full length of the flue and shows cracked tiles, gaps, and creosote buildup on a monitor. We use it on every chimney before quoting a liner so the scope is based on what is actually there.
Chimney brush and chimney rods
Flexible rods drive the brush through offsets and past the smoke shelf. We size the brush to the flue so it scrubs the walls without damaging tile.
Smoke chamber brush
Reaches the angled smoke shelf where creosote and soot collect. Most smoke backup problems trace back to a dirty or badly shaped smoke chamber.
Grinder with diamond blade
Cuts out failed mortar joints and trims brick cleanly for tuckpointing. It gives a square joint that new mortar can actually bond to.
Mortar jointer and tuckpointing trowel
Packs and shapes new mortar so the repair matches the original profile. Uniform joints shed water and look like they were always there.
HEPA vacuum and drop cloths
Captures fine soot during demo and keeps it out of your furniture and HVAC. We lay drop cloths from the door to the hearth before anything comes out.
Masonry drill
Drills anchor holes in brick and block for hearth pads, mantels, and top plates without cracking the surrounding masonry.
Use cases
When Randolph Town homeowners call us
These examples show how the service framework adapts rather than forcing every call through one repair.
Cold living room, new gas insert, Randolph Heights
A 1968 ranch with no usable chimney and a living room that sat at 63 degrees all winter. The homeowner was running a space heater six hours a day and still could not get the room comfortable. The furnace was working fine; the room just had no dedicated heat source. → We installed a direct-vent gas insert with a horizontal termination through the wall and a thermostat remote. The room now holds 72 degrees in about twenty minutes, and the homeowner cut winter gas use by roughly 18 percent by running the insert as a zone heater instead of pushing the whole house to 70.
Spalling brick chimney and failed crown, Randolph Village
A 1930s brick chimney with heavy spalling on the south face and a crown that had crumbled to the point where water ran straight down the flue. The homeowner was getting a brown stain on the ceiling after every hard rain and had been told the whole stack needed to come down. → We tuckpointed the failed joints, repoured the crown with the correct overhang, reset the flashing, and applied a breathable water repellent. Then we installed a wood insert with a stainless liner. Total cost came in at about half of a full chimney rebuild, and the ceiling stain has not returned through two winters.
Problems we solve
Problems a new fireplace install solves
Most people call us because something is already wrong: smoke in the room, a chimney leak, or a firebox that has not been safe to use in years. Here is what we fix.
Smoke backing into the living room
We size the new liner to the appliance and check the smoke chamber and smoke shelf. If the flue is too short or too wide, the new liner fixes the draft. Most smoke backup complaints end the first night after install.
Chimney leak staining the ceiling
We water-test the chimney, reset the flashing, and pour a new crown mix with the right overhang. Then we apply a breathable water repellent so the stack sheds water instead of soaking it up.
Old firebox that is not safe to burn
We rebuild the firebox with firebrick and refractory mortar, then set a modern insert with the correct clearances. The new unit runs cooler on the outside and hotter on the inside, which is exactly what you want.
Chimney liner damage from creosote
We sweep the flue, run a camera inspection, and install a new stainless steel liner with insulation. The liner is continuous from the appliance to the cap, so there are no joints for creosote to catch on.
Pricing process
What fireplace installation costs
$3,200 - $18,000 depending on appliance, liner, and masonry scope
Appliance type and size
A basic gas insert costs far less than a large wood insert with a catalytic converter. Unit size also drives liner diameter, which changes the liner price. We quote the unit and the liner together so you see the real total.
Chimney height and liner length
A 25-foot chimney needs more liner than a 15-foot one, and offsets inside the flue add labor. Taller stacks also mean more scaffold time. We measure the actual run during the inspection, not from the driveway.
Masonry condition
A cracked crown, spalling brick, or a failed flashing adds to the job. Fixing these during the install is cheaper than a second visit, because the scaffold and crew are already there. We quote them separately so you can see the breakdown.

How much does fireplace installation cost in Randolph Town Massachusetts?
Most insert installations run $3,200 to $6,800 in 2026, and a full masonry fireplace build with a new liner and crown typically lands between $8,500 and $18,000. Gas inserts sit at the lower end, wood inserts with a full stainless steel liner at the upper end. Chimney height, liner length, and whether the crown needs rebuilding move the number most.
Can I install a fireplace insert in Randolph Town?
Yes, if the existing flue is sound or gets a liner first. We run a camera inspection system down the chimney to check for chimney liner damage, creosote buildup, and a stuck damper. About one in three Randolph Town homes we inspect needs a reline before the insert goes in. Once the flue is right, the insert drops in and the job is usually done in a day.
What is included in fireplace installation in Randolph Town Massachusetts?
The unit, the venting or stainless steel liner, the top plate and chimney cap, the hearth and trim finish, the permit, and the final inspection. Gas jobs include a pressure test on the line. Wood jobs include a refractory mortar bed and firebrick. We also haul the old unit and debris away. Add-ons like a crown rebuild or tuckpointing are quoted separately and only if the inspection shows they are needed.
Who does fireplace installation near me in Randolph Town?
We do, across every neighborhood from Randolph Center to Randolph Heights. Call (844) 803-2151 and we will book an inspection, usually within a few days. If you have a chimney leak or a smoke backup right now, say so on the call and we will prioritize it. We serve Randolph Town and the surrounding towns from the same crew.
Related services
Related Services
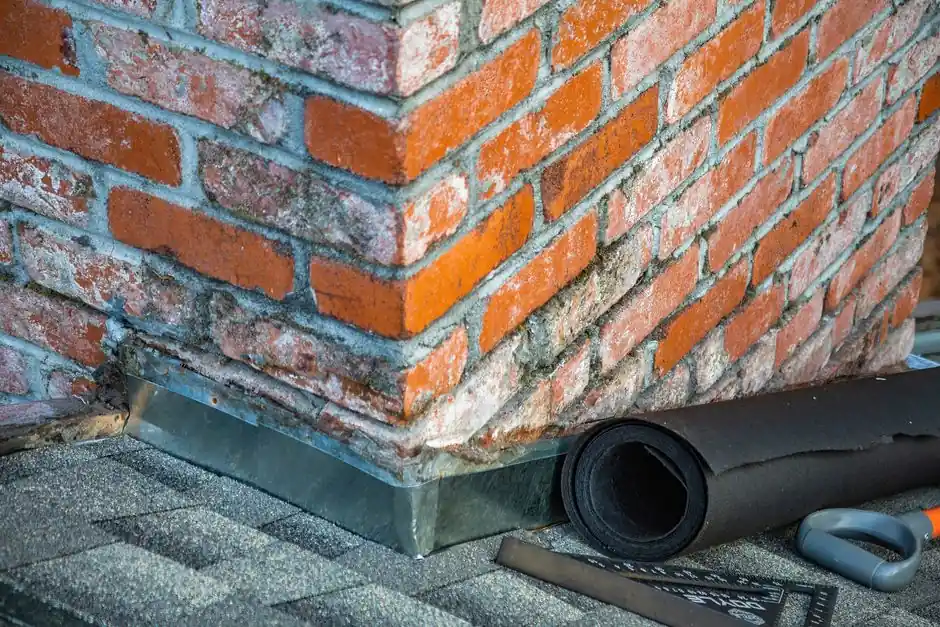
chimney repair near me
If the camera shows cracked flue tiles or a broken smoke shelf, we repair the chimney before the new unit goes in. Doing both at once means one permit, one inspection, and one cleanup for Randolph Town homeowners.
chimney masonry repair
Spalling brick and crumbling mortar around the firebox get rebuilt with firebrick and refractory mortar. A fireplace install on a failing masonry surround will not last, so we fix the structure first and set the unit on solid work.
chimney crown repair
A cracked crown lets water into the flue and rots the liner from the top down. We pour a new crown mix with the correct overhang and bond break while the chimney is open, which is the cheapest time to do it.Ready when you are
Book your fireplace installation in Randolph Town, Massachusetts
Call (844) 803-2151 and we will schedule an inspection, usually within a few days. You get a written scope, a pulled permit, and a code-correct install backed by our workmanship warranty. Licensed, insured, and NFI certified.
Talk with the local team
Request fireplace installation
Call (844) 803-2151 or email [email protected] and tell us what your chimney is doing. We answer the phone 24/7 for emergencies and schedule routine repairs within the same week. If you are not sure whether you need a repair or just a sweep, we will tell you straight.